Step-by-Step Guides
Manage or cancel your subscription
See your plan and next bill, change your card, download invoices, and cancel (or undo a cancel) on our website.
Last updated 2026-09-29 · Applies to NotBot 1.4.4+ · Identical to the stable docs
Everything about your NotBot bill lives on one secure billing page, run by Stripe, our payment company. From there you can see when you are billed next, change the card you pay with, download invoices and receipts, and cancel. You get there from the Subscriptions page on our website.
Before you start
- You know how you sign in to our website (email and password, Google, or Apple).
- To change your card, have the new card with you.
Open your billing page
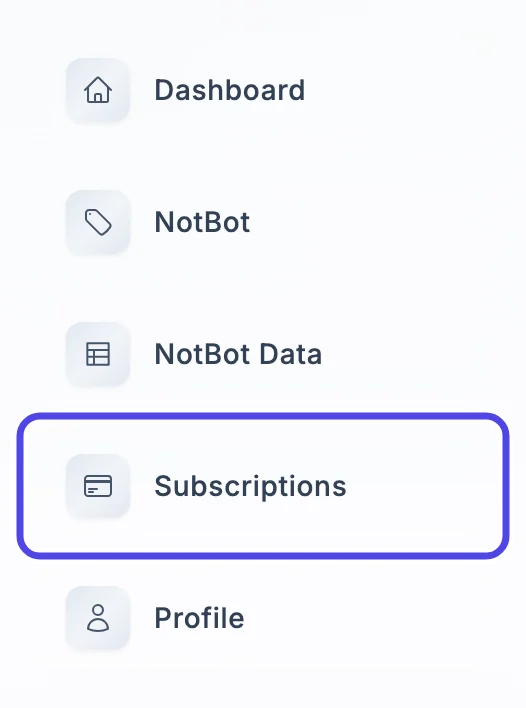
Step 1: Click Subscriptions in the menu
Sign in on mellowtools.com. In the menu on the left side of the page, click Subscriptions.
Step 2: Click Manage
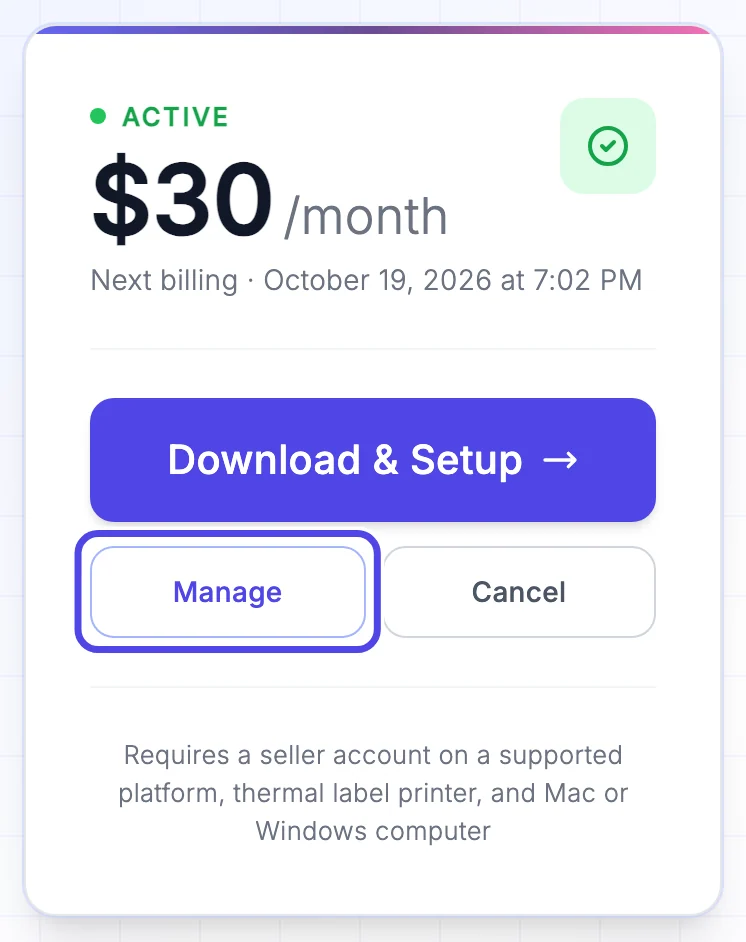
The NotBot card at the top left shows your plan: ACTIVE, $30 /month, and the date of your next bill after Next billing.
Click Manage. Your secure billing page opens in the same tab.
The Cancel button next to it opens the same billing page. Nothing is cancelled when you click it; you cancel from the billing page, as shown further down.
Step 3: Find your way around the billing page
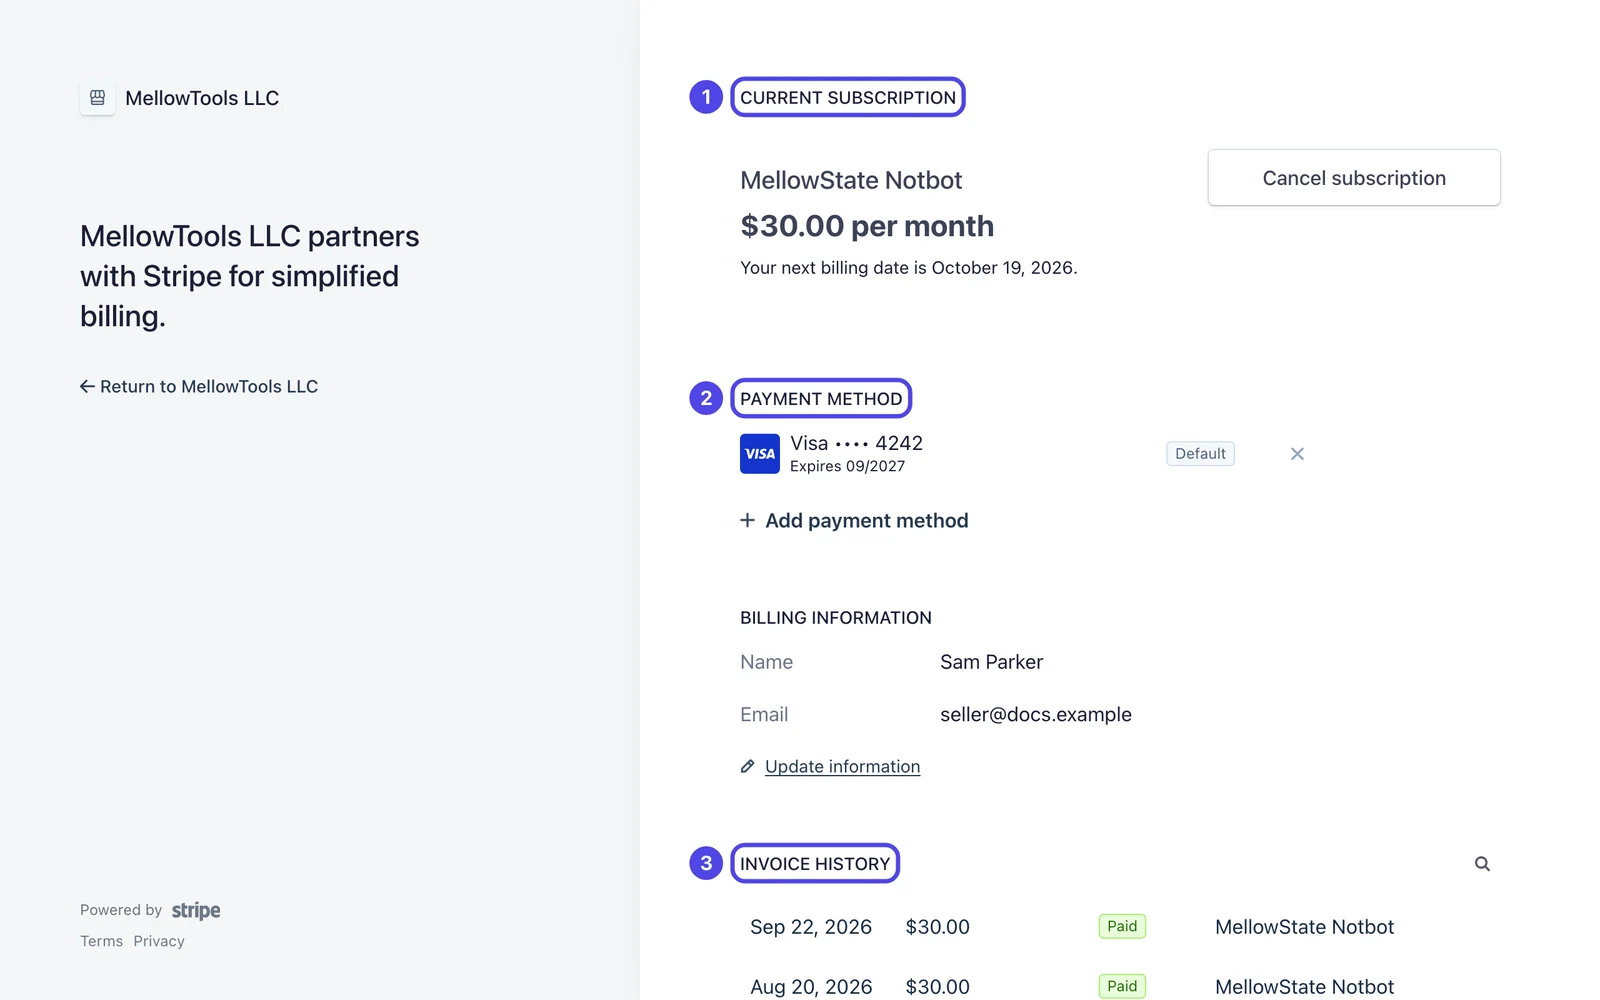
The billing page has MellowTools LLC at the top left. It has three parts you will use, each with its name in capital letters:
- Current subscription: your plan (MellowState Notbot, $30.00 per month) and the date of your next bill.
- Payment method: the card you pay with.
- Invoice history: every bill, with its date, amount and whether it is paid.
Under Billing information you can click Update information to change the name and email address on your receipts. To go back to our website at any time, click Return to MellowTools LLC on the left.
Change the card you pay with
You add the new card first, then remove the old one. Your subscription keeps running the whole time.
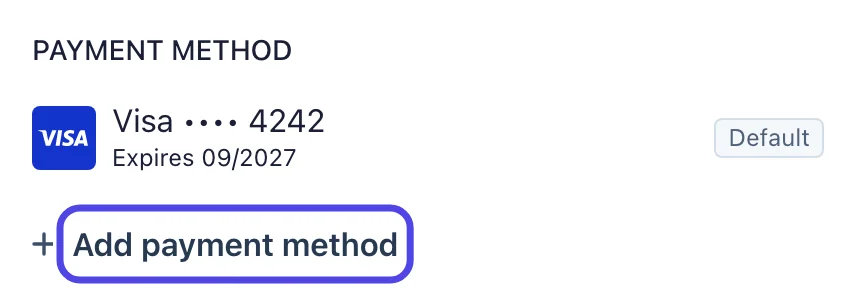
Step 4: Click Add payment method
Under Payment method, click + Add payment method.
Step 5: Type the new card details
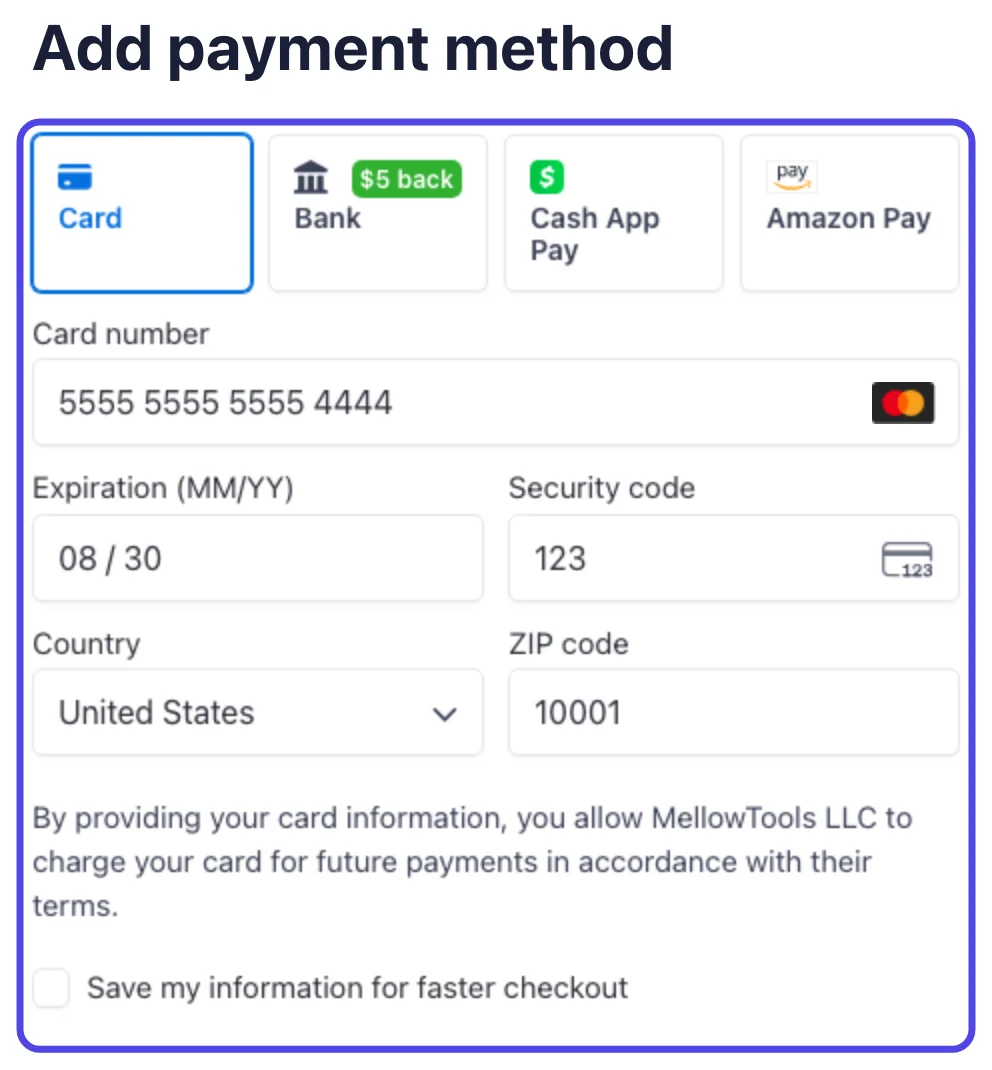
The Add payment method page opens with Card already picked. Type the card number, the expiration date (month and year), the security code from the back of the card, and your ZIP code.
Below the card, Stripe may offer Save my information for faster checkout with a phone number box. It is optional. To skip it, click the check mark so the square is empty.
Step 6: Click Add
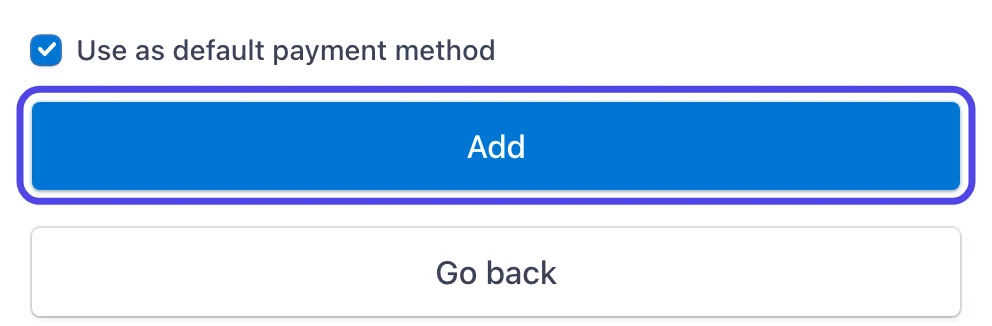
Above the button, leave Use as default payment method ticked, so your next bill goes on the new card. Then click the blue Add button.
You go back to the billing page. The new card is listed first, marked Default.
Step 7: Open the menu next to your old card
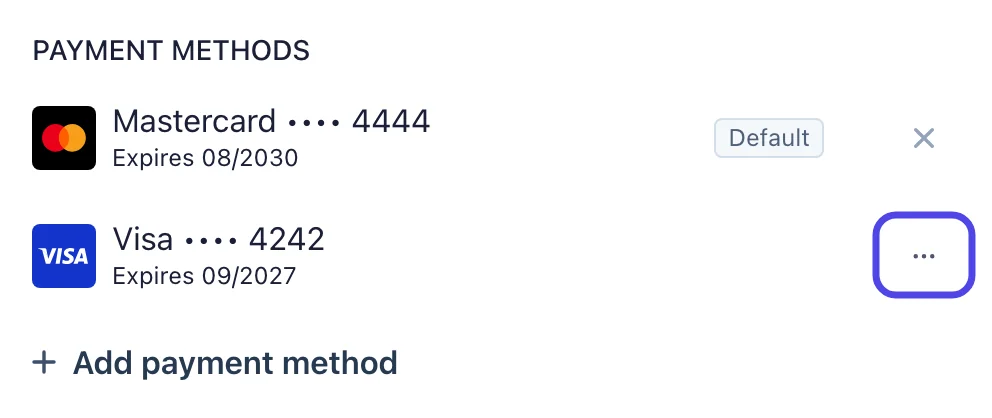
Under Payment methods you now see both cards. The new one says Default.
Next to the old card, click the small button with three dots (...).
Step 8: Click Delete
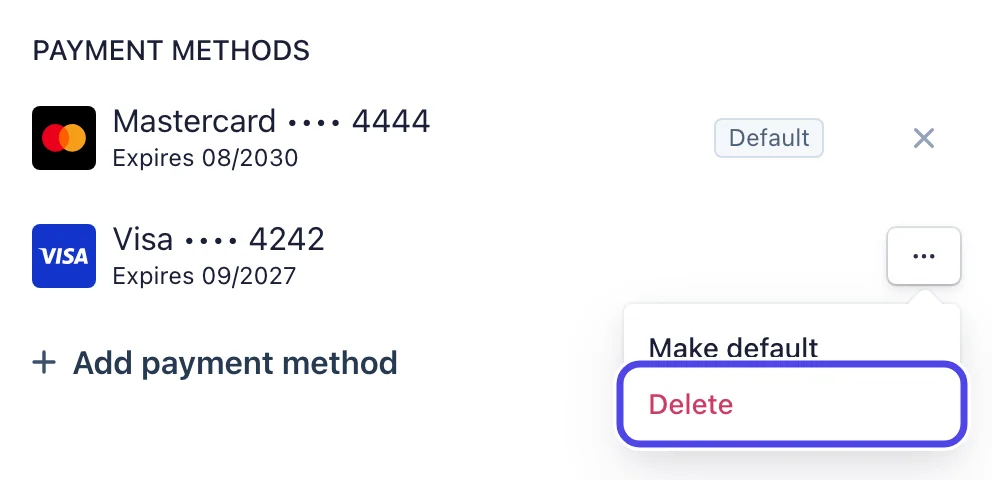
A small menu opens with Make default and Delete. Click Delete (in red).
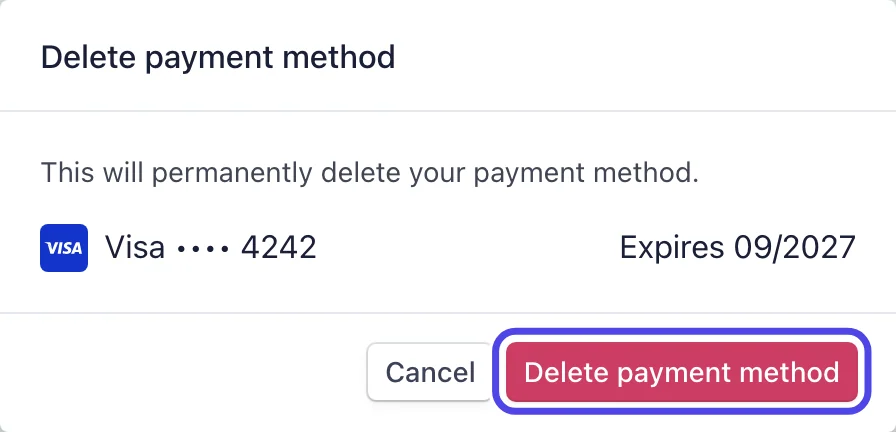
Step 9: Click Delete payment method
A box asks you to confirm and shows which card it will remove. Check that it is the old card, then click the red Delete payment method button.
Only the new card is left, marked Default.
Download an invoice or receipt
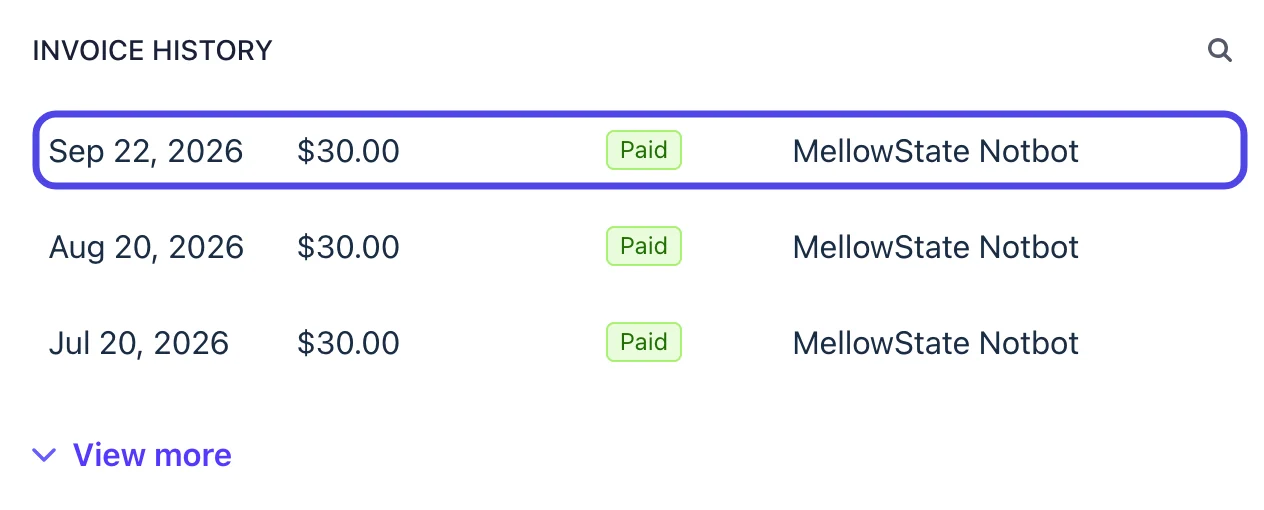
Step 10: Click a bill in Invoice history
Scroll down to Invoice history. Each line is one monthly bill, newest at the top: the date, the amount, Paid, and what it was for. The list starts with your three newest bills; to see older ones, click View more under the list. Click the line you want.
The invoice opens in a new browser tab.
Step 11: Click Download receipt
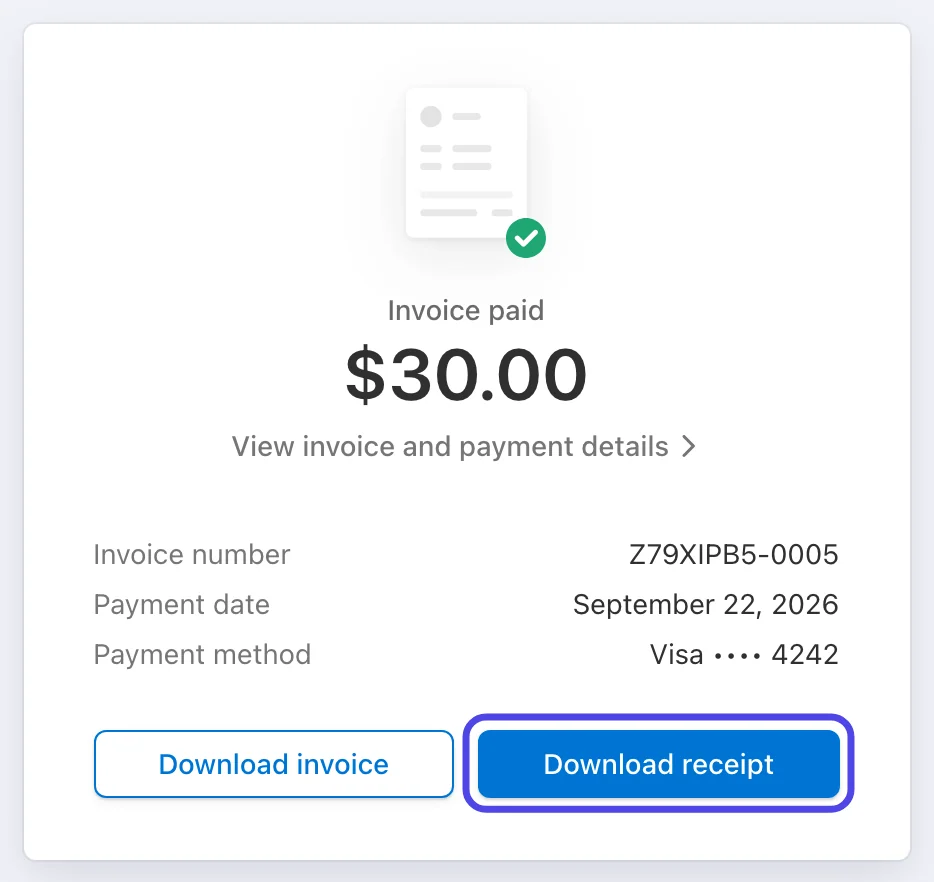
The invoice page shows the amount, the invoice number, the payment date and the card that paid it.
Click the blue Download receipt button to save the receipt as a PDF file. If you need the invoice instead, click Download invoice, the white button next to it.
The file goes to your Downloads folder. Close this tab when you are done; the billing page is still open in the other tab.
Cancel your subscription
When you cancel, NotBot keeps working until the end of the month you already paid for. You are not charged again. After that date, NotBot stops printing labels until you subscribe again.
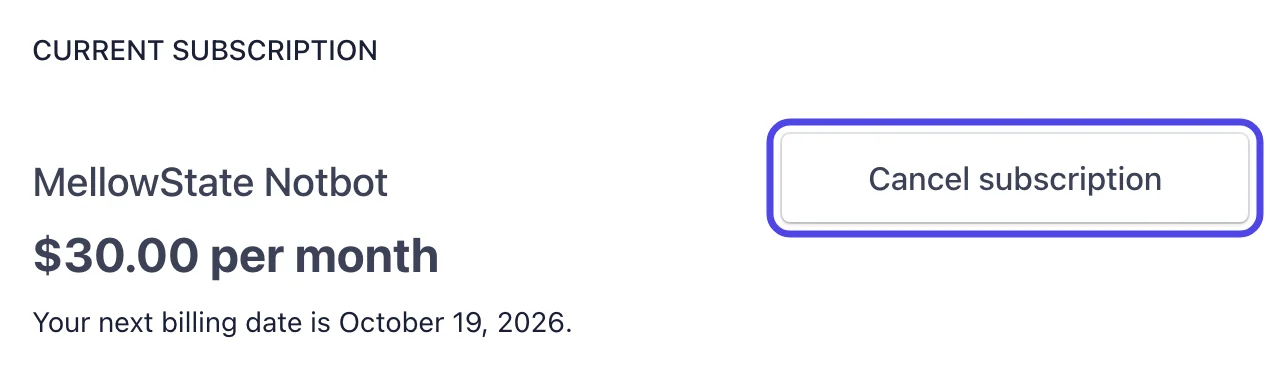
Step 12: Click Cancel subscription
At the top of the billing page, next to your plan, click Cancel subscription.
Step 13: Open the Reason list
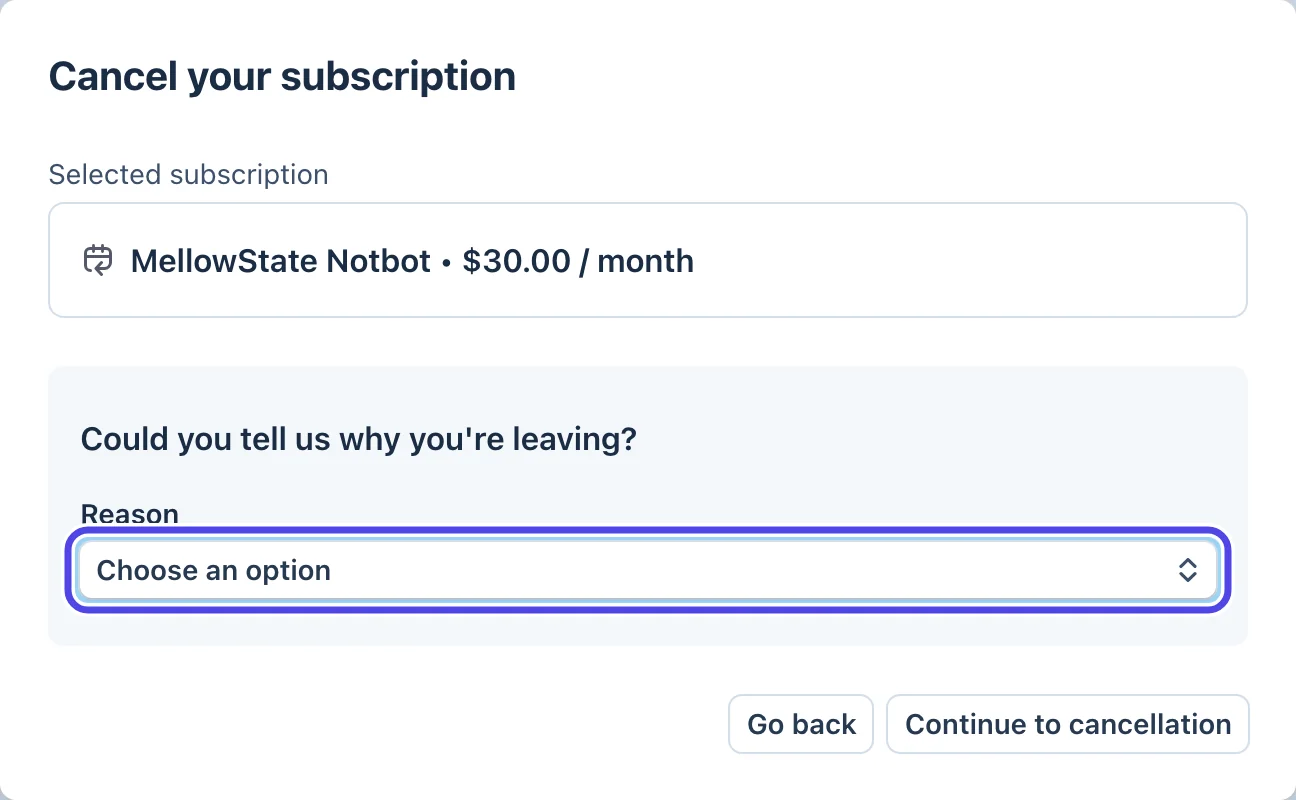
A box titled Cancel your subscription opens. It asks Could you tell us why you're leaving?
Click the Reason list, where it says Choose an option.
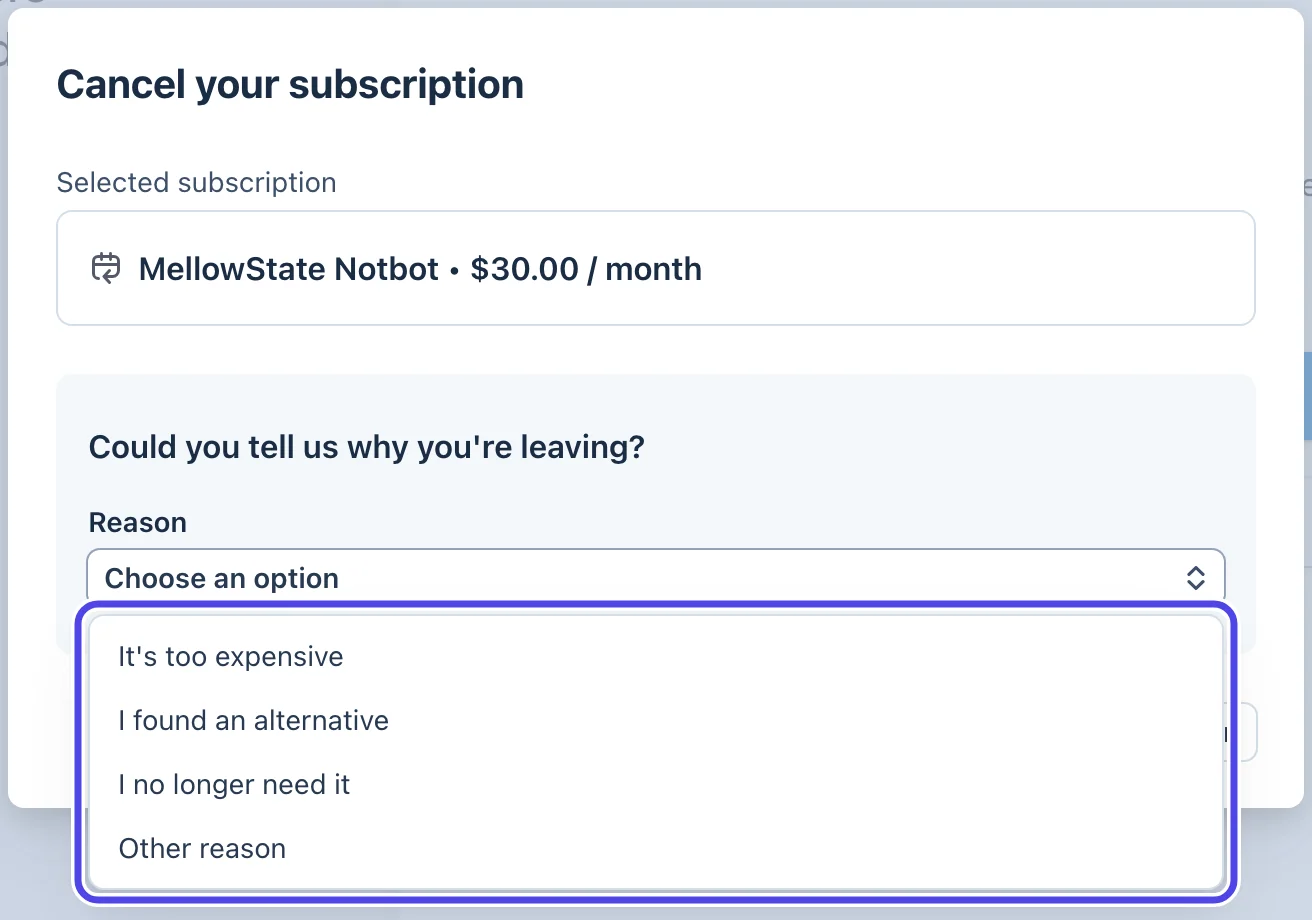
Step 14: Pick a reason
Click the reason that fits best: It's too expensive, I found an alternative, I no longer need it, or Other reason. Your answer helps us improve NotBot.
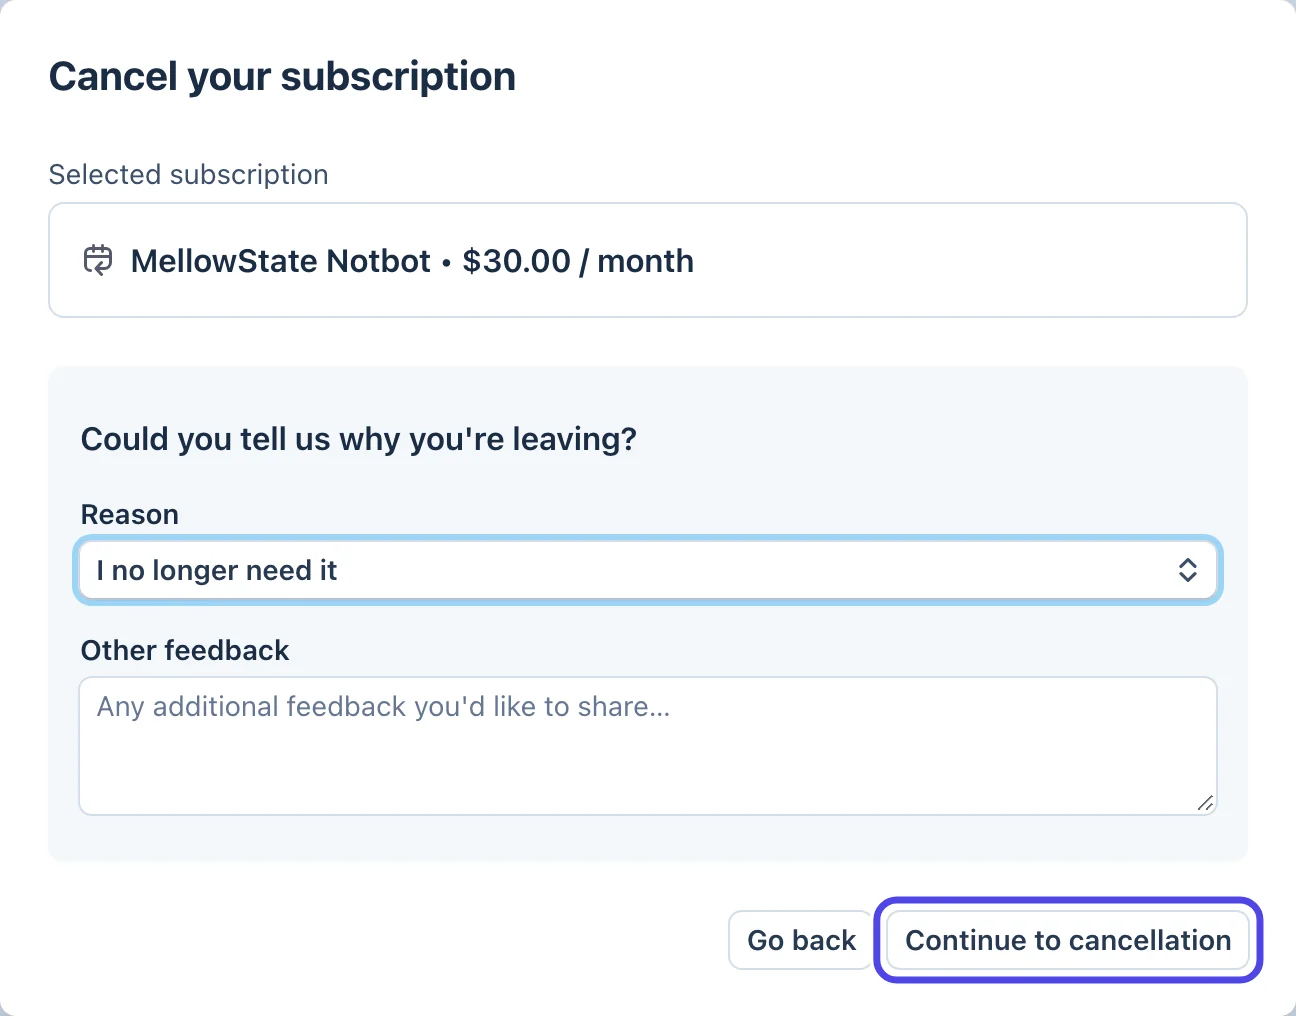
Step 15: Click Continue to cancellation
An Other feedback box appears under the reason. You can type more there, or leave it empty.
Click Continue to cancellation at the bottom right of the box.
(Changed your mind? Click Go back instead. Nothing is cancelled.)
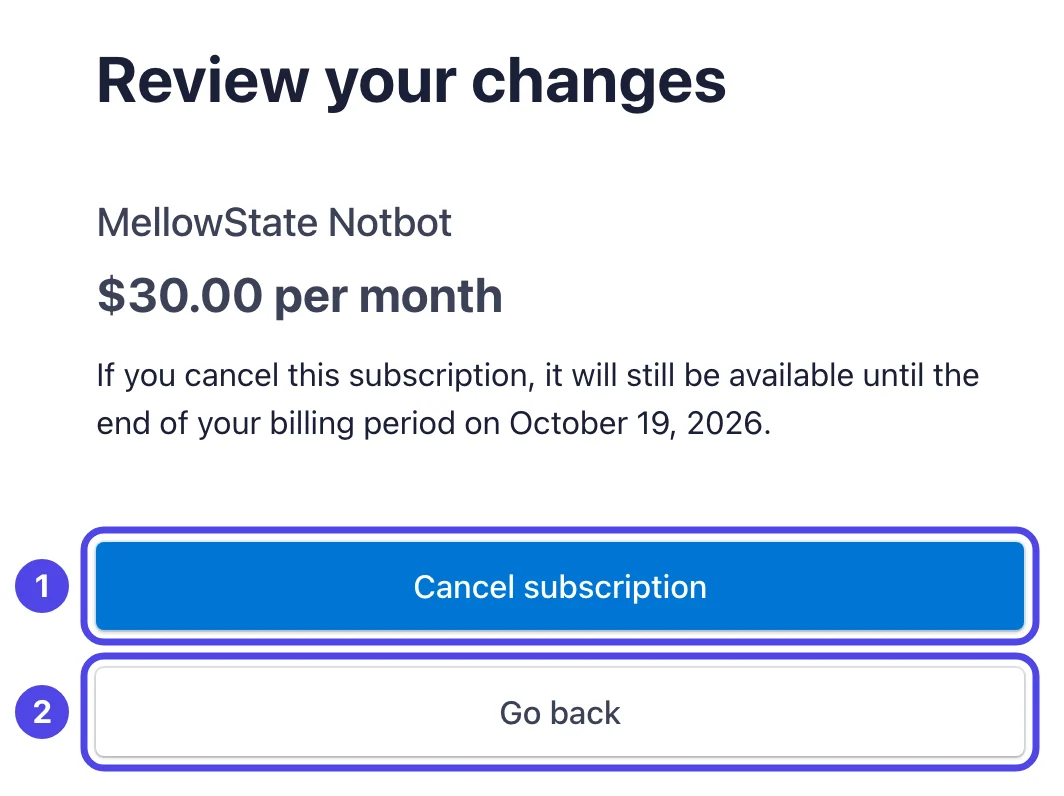
Step 16: Click Cancel subscription to confirm
The Review your changes page tells you the date your subscription will still be available until: the end of the month you already paid for.
Click the blue Cancel subscription button (1) to cancel. To keep your subscription, click Go back (2).
Step 17: Check the end date
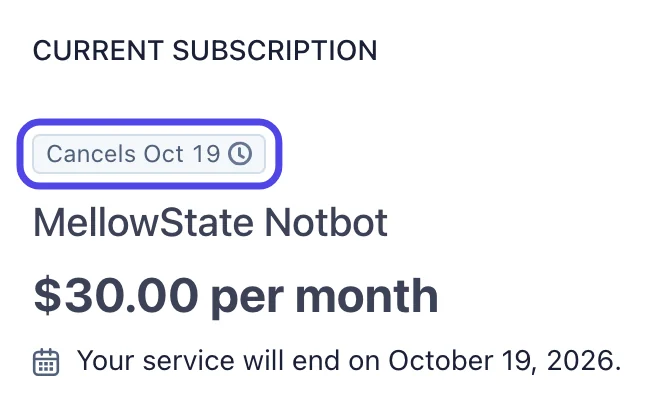
You are back on the billing page. Under Current subscription, a small tag says Cancels and the date, and the line under the price says Your service will end on that date.
That's it. NotBot keeps working until then, and you are not charged again. You can close the page.
Changed your mind? Undo the cancel
Until the end date, you can take the cancel back with two clicks. Your subscription then carries on as if you never cancelled.
Step 18: Click Don't cancel subscription
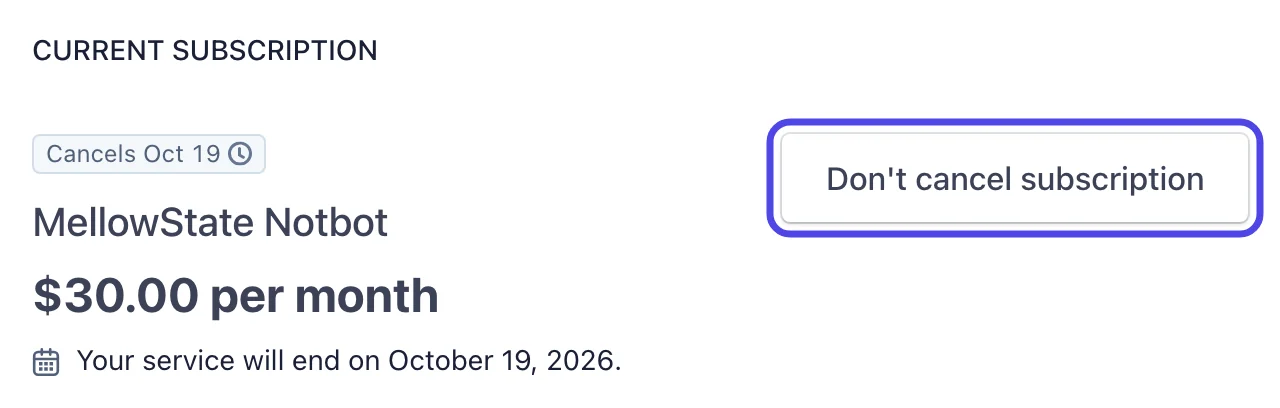
Open the billing page again (Subscriptions, then Manage). Next to your plan, where Cancel subscription used to be, click Don't cancel subscription.
Step 19: Click Renew subscription
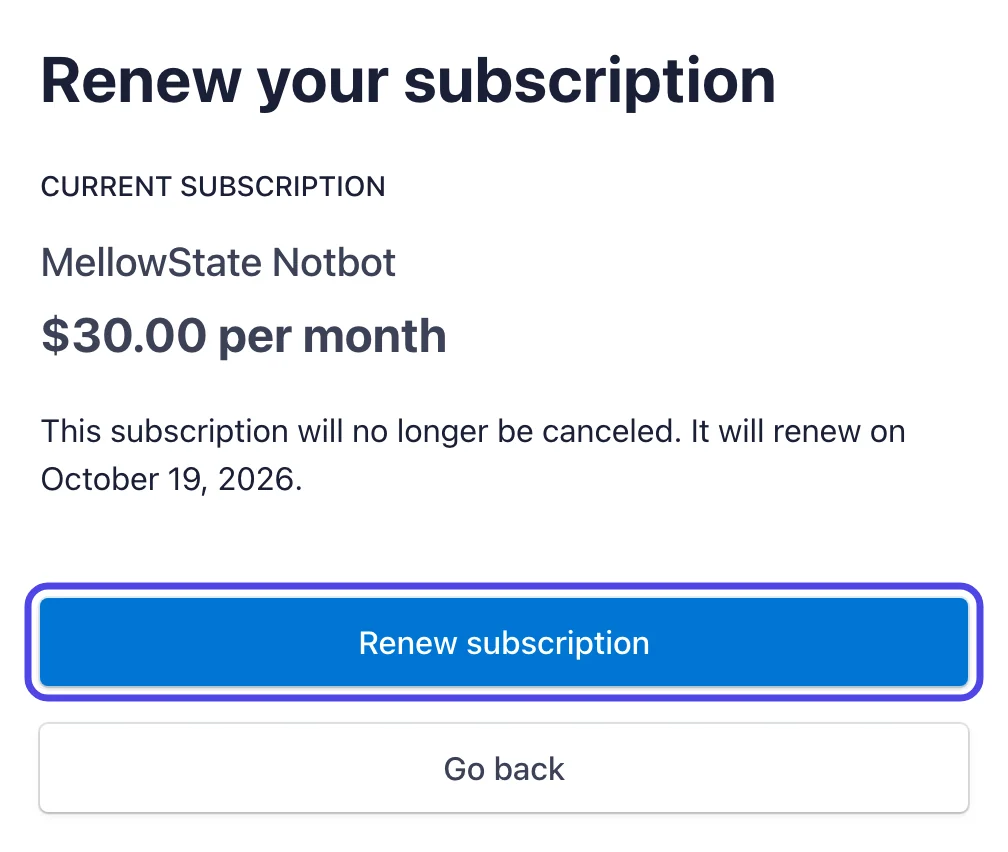
The Renew your subscription page says the subscription will no longer be canceled, and the date it renews on. Click the blue Renew subscription button.
You are back on the billing page, and Cancel subscription shows next to your plan again.
If you are on the free trial
During the 7-day free trial, everything above works the same way. The only differences are what the pages show and what cancelling means.
Step 20: Check when your trial ends
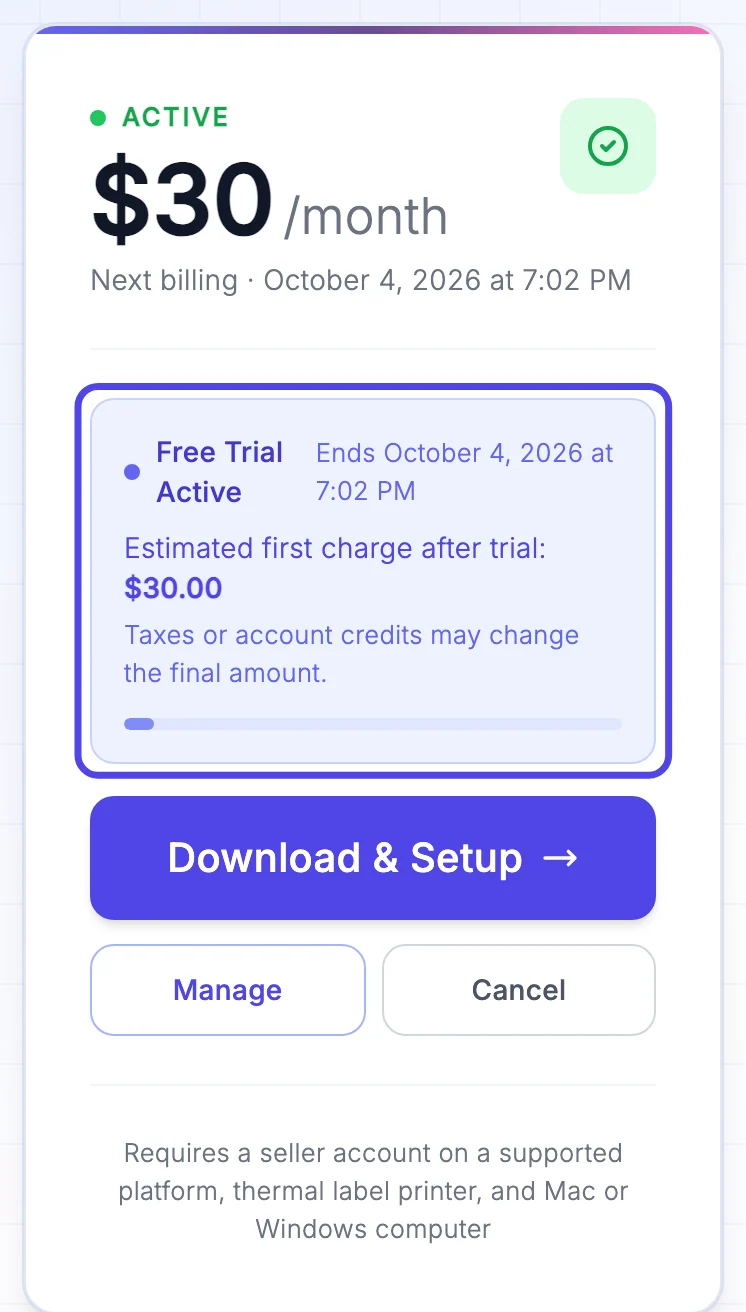
On the Subscriptions page, the NotBot card shows Free Trial Active with the date it Ends, and the Estimated first charge after trial: $30.00. The bar under it fills up as the trial goes by.
If you cancel during the trial (with the same steps as above), NotBot keeps working until the trial's end date and you are never charged.
Step 21: See the trial on the billing page
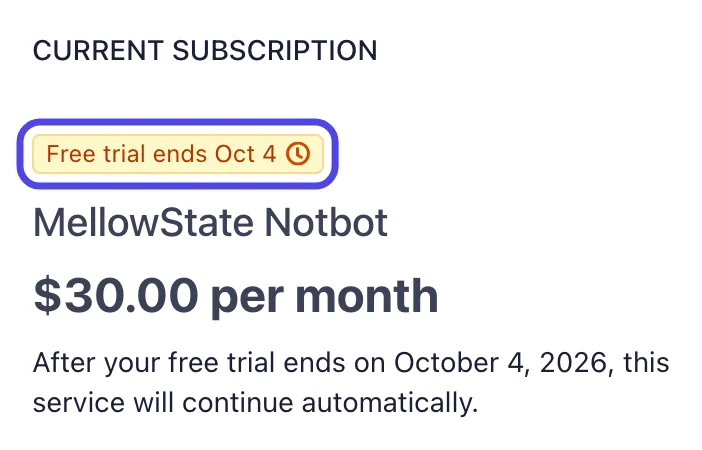
Click Manage to open the billing page. During a trial, a yellow Free trial ends tag shows the last day of your trial, the line under the price says the service continues automatically after that, and the invoice history lists the trial as a $0.00 bill.
If something looks different
Nothing happens when I click Manage
The billing page opens in the same tab and can take a few seconds. Wait, then click Manage once more. If a message appears instead, reload the page and try again. If it still does not open, write to support@mellowtools.com.
I don't see a Manage button, only Start 7-Day Free Trial or Subscribe Now
You are signed in to an account without a subscription. Check the name at the top of the page. If you signed up with Google or Apple, sign out and sign in that way instead of with an email and password.
The billing page says "Your service will end on" but I didn't mean to cancel
Click Don't cancel subscription, then Renew subscription, as shown in Changed your mind?. This works until the end date.
My subscription already ended and I want NotBot back
Sign in on our website and click Subscriptions. The plan card shows Subscribe Now. Click it, click OK on the message about Whatnot, and pay on the secure payment page; NotBot works again as soon as the payment goes through. The free trial is only for new accounts.
I was charged but I thought I cancelled
Look at the billing page: if it does not say Cancels or Your service will end on, the cancel was not finished (the last step is the blue Cancel subscription button on the Review your changes page). Write to support@mellowtools.com with the date of the charge and we will look at it.
My card payment failed
NotBot shows a red bar near the top of its window that says Your last payment did not go through, with a Fix payment button that opens this billing page in your web browser. Add a new card as shown in Change the card you pay with and keep Use as default payment method ticked, so your bills go on the new card. NotBot keeps printing labels for now, but it stops if the bill stays unpaid. The red bar goes away once the bill is paid. If it is still there after you add the new card, write to support@mellowtools.com.